
Creative DIY and crafting is not just about gluing beads onto a frame or following a step-by-step tutorial. It is a practice that mobilizes real technical skills, from choosing materials to mastering sometimes underestimated tools. Understanding a few basic principles changes the quality of every project, even the most modest.
Upcycling and Creative Crafting: Transforming Waste into Useful Objects
Have you ever noticed that packaging, old binders, or fabric scraps always end up in the trash by reflex? Upcycling involves intercepting these materials before they reach the dumpster to give them a new function, without recycling them in the industrial sense.
Read also : Discover the world of a large family: history, values, and family traditions
The difference from traditional recycling is concrete. Recycling melts, grinds, or dissolves the material. Upcycling retains the original shape and repurposes it. A lever arch binder becomes a wall photo frame. Stacked newspapers, soaked and molded, produce a solid papier-mâché decorative object once dry.
Working with “almost nothing” forces you to think more about the project. The corrugated cardboard from a package, for example, has enough rigidity to serve as the structure for a wall organizer. You just need to reinforce the corners with PVA glue and gummed kraft tape.
Related reading : Discover the latest makeup trends and beauty tips for successful shopping
To learn more about Cécile Bricole and this logic of accessible projects using everyday materials, the principle remains the same: constraints stimulate creativity much more than an abundance of supplies.
Choosing the Right Glue According to the Material: A Technical Point That Changes Everything
In creative crafting, many projects fail due to an adhesive that is poorly suited to the substrate. A hot glue gun, for example, only works properly on certain surfaces.
Hot Glue, PVA, or Neoprene
Hot glue (silicone stick) adheres well to raw wood, thick cardboard, and rigid fabric. It fails on smooth surfaces like glass, painted metal, or hard plastic. For these substrates, neoprene glue offers a durable bond provided you apply a layer on each side and let it dry before assembling.
PVA glue (white glue) remains the most versatile for paper, thin cardboard, and wood-to-wood joints. It requires a longer drying time, but the bond achieved is often stronger than the material itself.
Three Criteria to Get It Right
- The porosity of the substrate: a porous material (wood, cardboard, fabric) absorbs the glue, which strengthens the bond. A smooth material requires contact adhesive or a primer.
- The expected flexibility: if the finished object needs to bend or move (a bag, a notebook cover), rigid PVA glue will break. Opt for a flexible fabric glue.
- The available working time: hot glue sets in seconds, which is suitable for quick assemblies but prevents repositioning. White glue allows several minutes to adjust the pieces.
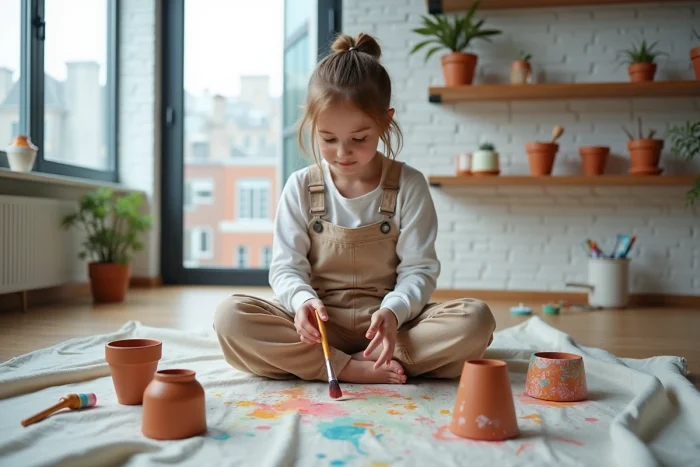
Thematic DIY Projects: Making Handmade Gifts for the Holidays
Creative crafting takes on a special dimension when it is used to produce personalized items for a specific event. Christmas, a family celebration, or a birthday become excuses for targeted projects.
A handmade gift conveys an intention that a purchased item does not. A candle holder made from concrete poured into a plastic cup, sanded and then waxed, costs just a few cents in materials. The result resembles a boutique decorative item.
For the end-of-year holidays, papier-mâché allows you to create lightweight and sturdy decorations. The basic technique: tear (not cut) strips of newspaper, soak them in a water-white glue mixture, and apply them in crossed layers on an inflated balloon. After complete drying, the balloon is popped and removed. The resulting shell can be painted, varnished, or covered with fabric.
Adapting the Difficulty Level to the Available Time
A common trap is choosing a project that is too ambitious the day before the event. Concrete requires at least 48 hours to dry. Papier-mâché takes between 24 and 72 hours depending on thickness and ambient humidity.
Here are projects that can be completed in under an hour with common materials:
- A pencil holder covered with glued fabric (cotton scraps, PVA glue, cleaned tin can)
- A garland made from cut paper sewn by machine, or simply folded in an accordion style
- A bookmark made from sturdy cardboard decorated with a stamp or stencil, protected by a layer of decoupage glue
- Gift tags cut from packaging cardboard, calligraphed with a fine marker
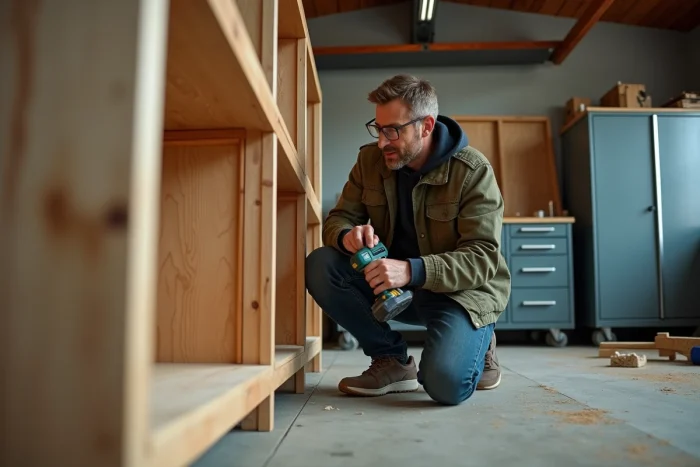
Organizing a Functional Craft Space in a Small Home
Working on a corner of the kitchen table works, provided you prepare the storage before starting. The main problem in a small space is not the work surface, but the storage of projects drying in progress.
A board placed on two wall brackets, installed high up in a hallway or above a door, is enough to store pieces that are drying without cluttering the work surface. This type of shelf is fixed with two screws and two dowels suitable for the type of wall (drywall, brick, concrete).
For tools, a perforated panel measuring 60 x 40 cm hung on the wall replaces an entire drawer. Each tool has its visible place, which avoids rummaging through a box before each session. Vertical storage frees up horizontal surface, and it is the horizontal surface that is most lacking in small spaces.
Creative DIY does not require a dedicated workshop or a significant budget. An adhesive suitable for the substrate, a respected drying time, and a clear work surface are enough to complete each project.